Dota 2 Items Explained: Components, Recipes and Neutral Items
How Dota 2 items work: components, recipes, actives and passives, consumables, the Secret Shop and the crafted neutral item system.
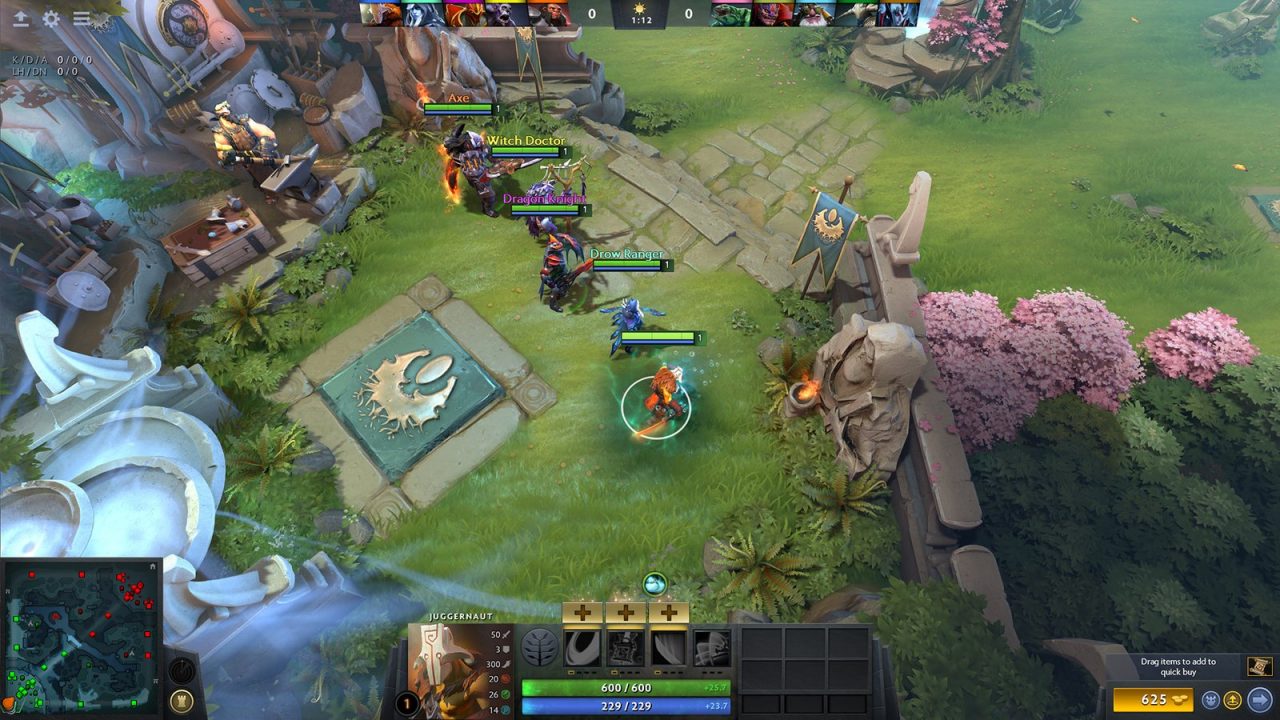
In Dota 2, a hero’s abilities decide what it can do, but items decide how well and how often it can do it. Items can turn a fragile support into someone who survives a teamfight, give a slow hero a way to jump into the backline, or let a carry ignore magic entirely for a few crucial seconds. Unlike some other MOBAs, Dota’s shop is full of active items with game-changing effects, and learning how they are built and why they are bought is one of the biggest steps from beginner to competent player.
This guide explains the structure of the item system rather than specific builds. Builds change from patch to patch; the logic of components, recipes, actives and neutral items is far more stable. If you are still learning the very basics of a match, our Dota 2 beginner’s guide is a good place to start first.
Where Gold Goes: The Basics of the Shop
Every hero earns gold from last hits on creeps, kills, assists, structures and a small amount of passive income over time. That gold is spent in the shop, which opens from the fountain area of your base. You can browse it from anywhere on the map and buy items at any time; what changes is how those items reach you.
Items bought while your hero is standing in the base go straight into the inventory. Items bought elsewhere sit in your stash, and you need your courier to carry them out. Since patch 7.23 in late 2019, every player has their own courier rather than sharing one per team, which removed a lot of the old arguments about who gets to use it. A courier can be killed, so sending it through dangerous parts of the map is a real risk, but it respawns after a while.
Your inventory has six main slots, a three-slot backpack and dedicated slots for a Town Portal Scroll and a neutral item. Items in the backpack do not provide their stats or effects, so the backpack is a place to hold components or situational items you might swap in, not extra power.
Components and Recipes
The majority of Dota items are upgrades built from cheaper pieces. The building blocks are basic items or components: things like Iron Branch, Gauntlets of Strength, Slippers of Agility, Mantle of Intelligence, Ring of Protection, Blades of Attack or Staff of Wizardry. They give small, cheap bonuses and are useful on their own early on.
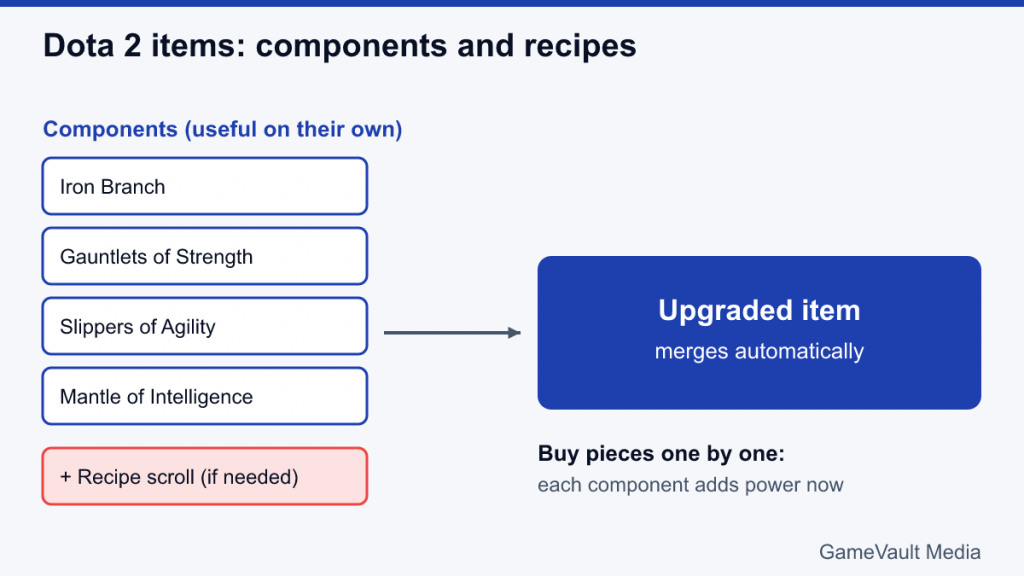
An upgraded item is made by combining specific components, often plus a recipe. A recipe is a scroll you buy for a fixed price that has no effect by itself; when you hold it alongside the right components, they merge automatically into the finished item. Some upgrades need no recipe at all and combine as soon as all their parts are in your inventory or stash.
Building items this way has several practical benefits:
- Incremental power. You do not have to save up the full cost of an expensive item. Each component you buy improves your hero immediately.
- Flexibility. Many components feed into several different finished items, so you can delay committing to a final choice until you see what the enemy draft is doing.
Some upgraded items are themselves components for bigger items, creating build paths from cheap early stats to late-game power. Hovering over an item in the shop shows what it builds from and into.
Active Items, Passive Items and Consumables
Items in Dota fall into three broad behavioral groups.
Passive items
Passive items simply give stats or always-on effects: extra damage, attack speed, armor, health regeneration, a chance to bash, a damage block, or an aura that helps nearby allies. They require no input, which makes them friendly for new players, but the strongest Dota items are rarely purely passive.
Active items
Active items add an extra button to your hero. Blink Dagger teleports you a short distance; Black King Bar grants temporary spell immunity; Force Staff pushes a unit in the direction it faces; Glimmer Cape makes an ally briefly invisible and resistant to magic. Many of the most important decisions in a fight are about using these actives at the right moment. Set up comfortable item hotkeys early instead of clicking them.
Consumables
Consumables are used up when activated or run out of charges. They include Tango (eating trees for health regeneration), Healing Salve, Clarity for mana, Observer and Sentry Wards, Smoke of Deceit, Dust of Appearance and the Town Portal Scroll. They are cheap and essential, especially early in the game and for support players, and not buying them is one of the most common beginner mistakes.
The Main Shop and the Secret Shop
Most items are sold in the main shop at each team’s base. A small set of items, however, can only be bought at the Secret Shop, a separate shop located out on the map. Items such as Ring of Health, Void Stone, Ultimate Orb, Demon Edge and Reaver are classic Secret Shop components. When you buy one of these from elsewhere, your courier has to fly to the Secret Shop to pick it up, or your hero has to walk there.
Older guides also mention side shops near the lanes. Those were removed in patch 7.23 (The Outlanders update, November 2019), so if you read advice about buying boots or Quelling Blade at the side shop, it predates the current game.
The practical lesson is that Secret Shop items take longer to arrive. Plan for the extra trip, especially when you are saving for a key item before a fight or a Roshan attempt; our Roshan guide explains why those timings matter.
Common Item Categories
The shop is organized by tabs, but it is more useful to think about items by the job they do. Here are the categories that matter most in almost every game:
| Category | Examples | What it solves |
|---|---|---|
| Boots | Boots of Speed, Power Treads, Phase Boots, Arcane Boots, Tranquil Boots, Boots of Travel | Movement speed and a secondary bonus such as stats, mana or regeneration |
| Mobility | Blink Dagger, Force Staff, Shadow Blade | Initiating fights, escaping, repositioning |
| Defensive | Black King Bar, Linken’s Sphere, Lotus Orb, Aeon Disk | Surviving disables and burst damage |
| Team utility | Pipe of Insight, Mekansm, Guardian Greaves, Vladmir’s Offering | Auras and group saves that help the whole team |
| Damage | Daedalus, Desolator, Monkey King Bar, Battle Fury | Raw physical damage, critical strikes, armor reduction, farming speed |
| Disable and counters | Scythe of Vyse, Orchid Malevolence, Silver Edge, Nullifier | Shutting down specific enemy heroes or effects |
Boots deserve a special mention. Almost every hero buys them, and the choice of upgrade says a lot about the hero’s role. Power Treads let you switch which attribute gets bonus stats; Phase Boots suit melee heroes who need to stick to targets; Arcane Boots restore mana to nearby allies; Tranquil Boots provide strong regeneration for roaming supports. Boots of Travel let you teleport to allied units and buildings, which is valuable for split-pushing cores in the late game.
Aghanim’s Scepter and Aghanim’s Shard
Two items work differently from all others because their effect depends on the hero holding them.
Aghanim’s Scepter upgrades one or more of a hero’s abilities, sometimes adds a brand-new ability, and gives some stats. Every hero has a unique Scepter upgrade, and for some heroes it is a core purchase that dramatically changes their power, while for others it is a niche late-game option. You can read each hero’s upgrade by hovering over the item in the shop or checking the hero’s page.
Aghanim’s Shard is a cheaper, smaller upgrade that also modifies or adds an ability. It was introduced in patch 7.28 and, unlike most items, it is consumed on purchase rather than occupying an inventory slot. It becomes available for purchase partway through the game rather than from the start.
Roshan can also drop Aghanim’s Blessing, which applies the Scepter effect permanently without using a slot. Check what Scepter and Shard do whenever you start learning a new hero.
Neutral Items: From Drops to Crafting
Neutral items are a separate category that cannot be bought in the shop. They are tied to the jungle and unlock in tiers as the game goes on, and they go into a dedicated neutral slot rather than one of the six main slots.
The system has changed several times. When neutral items were introduced in patch 7.23, they dropped randomly from killing jungle creeps. Later patches limited the drops and eventually let players choose from a small selection. Patch 7.38, released in February 2025, rebuilt the system again:
- Each neutral item is made of two parts: an Artifact, which provides the item’s active or main ability, and an Enchantment, which adds passive stat bonuses.
- Players collect Madstones by clearing neutral creep camps, with the player who clears the camp receiving the most and a teammate receiving a share.
- Madstones are spent to craft the Artifact and Enchantment combination you choose for the current tier, and higher tiers unlock as match time passes.
The exact tier timings, Madstone costs and the list of available Artifacts and Enchantments are tuned regularly. For example, patch 7.40 in December 2025 rotated a group of neutral items out of the pool and brought others in. Treat any specific neutral item list as patch-dependent and check the in-game tooltips for current values.
For beginners, the most important point is that neutral items are free power. Clearing jungle camps when lanes are quiet contributes Madstones to your team, and forgetting to craft or equip a neutral item is a surprisingly common way to fall behind.
How to Think About Building Items
Rather than memorizing builds, try to answer a few questions every time you go to the shop:
- What does my hero need to function? Some heroes need mana, others need attack speed or a way to initiate. Your hero’s role, covered in our guide to Dota 2 positions, sets the baseline.
- What is killing me? If you die to stuns and silences, look at Black King Bar or Linken’s Sphere. If you die to physical damage, armor items help. If a single enemy hero is the problem, look for a counter item.
- What does the team lack? If nobody has a save or an aura, a utility item can be worth more than personal damage.
- When is the next fight? Buying a component that adds immediate stats before an objective can be better than saving for a big item that arrives too late.
Common Item Mistakes
- Sitting on gold. Unspent gold is lost when you die, while items are kept. Buy components rather than walking around with a large unspent total.
- Never using actives. A Black King Bar or Force Staff that sits unused in a lost fight might as well not exist.
- Ignoring the TP slot. Always carry a Town Portal Scroll. It is your way to defend towers and join fights.
- Copying a build blindly. A damage item is wasted if you keep dying before you can attack.
- Forgetting the backpack penalty. Items in the backpack give no bonuses, and moving them into the main inventory triggers a short cooldown on their actives.
Once you understand components, actives and the neutral system, the shop stops feeling like an endless list and becomes a toolbox.